Properties
In this chapter you'll learn how to expose different types of Properties from a Jenova C++ Script.
Jenova allows you to expose various types of properties to the Godot Inspector and manipulate them directly in the game or editor. You can set these properties through the interface or use third-party languages like C#, GDScript, and Python etc.
Benefits of using Properties:
- Easily use resources in the scene such as Nodes, Textures, Audios etc. with Drag and Drop support.
- Avoid hardcoding values in your C++ Script.
- Adjust and test values within your game logic in real-time.
📝 Note : You can get and set properties directly in your C++ Script like any other value.
Just remember, properties must be defined only in sub-types ofgodot::Variant
📝 Note : Each script instance has its own unique properties; these properties can't be shared across different instances.
Basic Properties
To expose a property from your C++ Script, Simply add JENOVA_PROPERTY inside the Script Block :
JENOVA_PROPERTY(double /* Type */, run_speed /* Name */, 200.0 /* Default Value */)
After compiling your project, you will see the property appear in the Inspector.
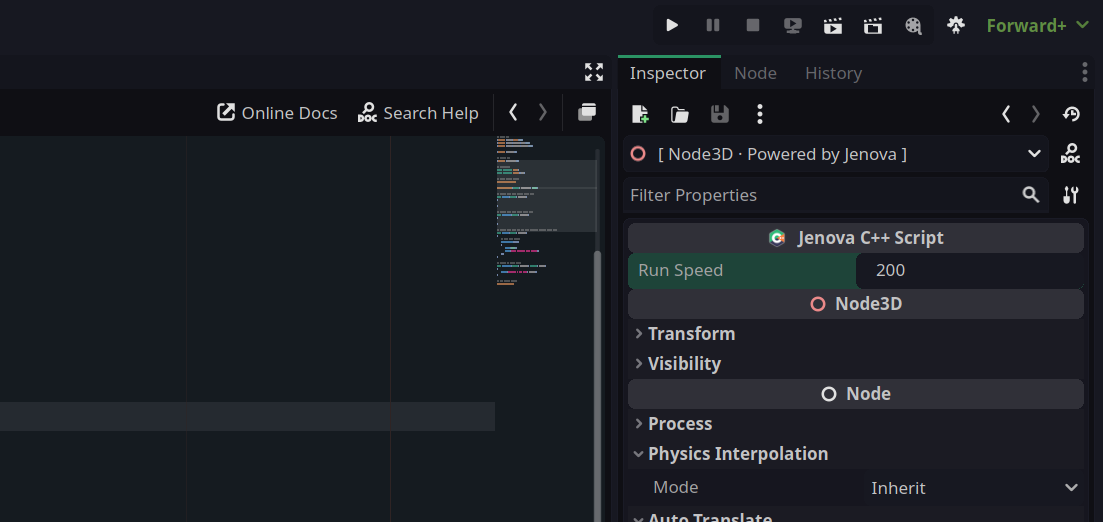
run_speed and default value of 200.0 appeared.Here's an example :
// Class Name
JENOVA_CLASS_NAME("My C++ Script")

// Script Block Begin
JENOVA_SCRIPT_BEGIN

// Properties
JENOVA_PROPERTY(double, run_speed, 200.0)

// Callbacks
void OnProcess(double _delta)
{
	Output("Run Speed : %lf", run_speed);
}

// Script Block End
JENOVA_SCRIPT_END
By compiling above script you will see this :
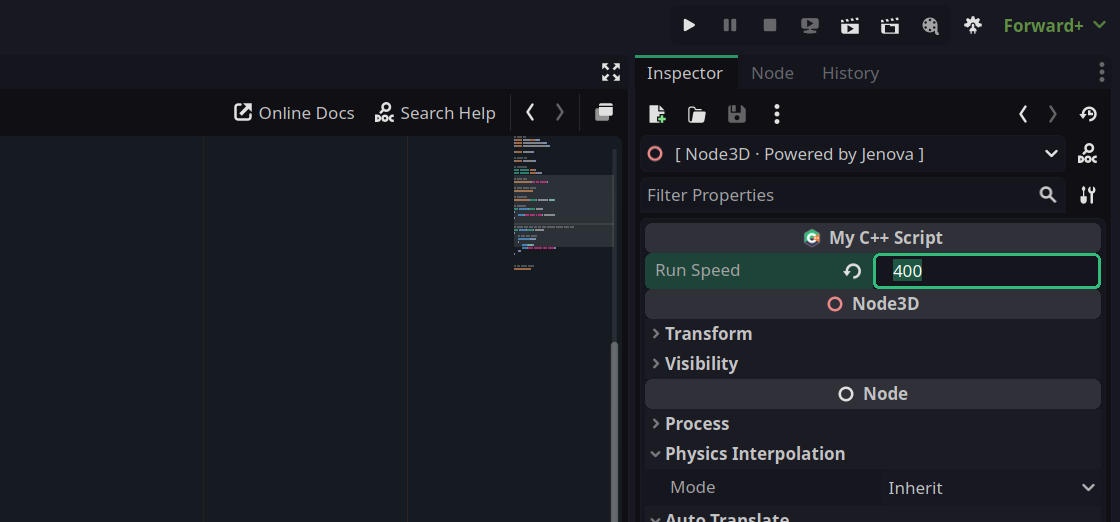
JENOVA_CLASS_NAME property area gets a name.Now, If you run the game, You can modify the property in the Inspector and it will be updated in the Output on-the-fly.
Advanced Properties
The property definer macro JENOVA_PROPERTY is dynamic. You can use more advanced property features in the following form :
JENOVA_PROPERTY(String, label_prefix, "Untitled", Group:"My Props", Usage:PROPERTY_USAGE_EDITOR)
Current valid extra parameters are Group, Hint, HintString, Usage and they can be used in any order.
Here's an example :
// Class Name
JENOVA_CLASS_NAME("My C++ Script")

// Script Block Begin
JENOVA_SCRIPT_BEGIN

// Properties
JENOVA_PROPERTY(String, label_prefix, "Untitled")
JENOVA_PROPERTY(double, label_value, 1.5f, Group:"Custom Props")
JENOVA_PROPERTY(Color, label_color, Color(1.0f, 0.5f, 0.5f, 1.0f))

...

// Script Block End
JENOVA_SCRIPT_END
By compiling above script you will see this :

label_value is grouped in Custom PropsHere's a more advanced example :
// Class Name
JENOVA_CLASS_NAME("Dummy Controller")

// Script Block Begin
JENOVA_SCRIPT_BEGIN

// Properties
JENOVA_PROPERTY(int, dummy_state, 0, Hint:PROPERTY_HINT_ENUM, HintString:"Idle,Walk,Run", Usage:PROPERTY_USAGE_EDITOR)

// Script Block End
JENOVA_SCRIPT_END
By compiling above script you will see this :
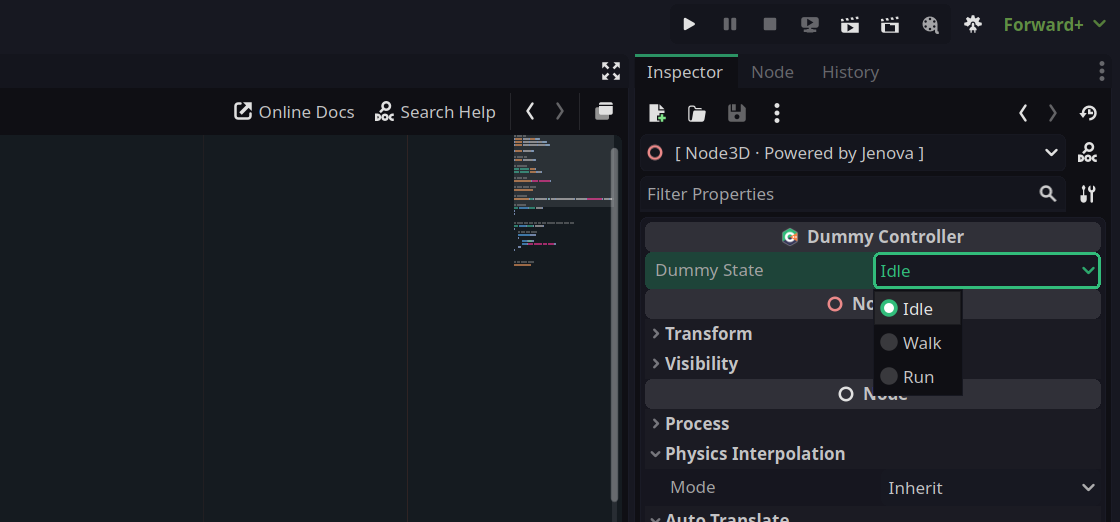
Dummy State property with advanced parameters.Internal Properties
In Jenova C++ Script, variables defined directly in code are shared across all instances of a script. This means if the same script is assigned to 10 different nodes, all nodes will reference the same variable value. Any change to that variable will propagate across all instances.
This behavior can be problematic in scenarios like enemy prefabs or interaction areas, where each node requires its own unique state. To handle this, Jenova offers two approaches:
- Using Internal Properties
- Using Global Variables + Instance ID
Internal properties allow you to define per-instance variables that are not shared.
To create an internal property, simply add the PROPERTY_USAGE_NO_EDITOR usage flag to your property declaration. This ensures the variable is unique to each node instance and hidden from the editor.
Here's an example :
// Class Name
JENOVA_CLASS_NAME("Interaction Area")

// Script Block Begin
JENOVA_SCRIPT_BEGIN

// Internal Properties
JENOVA_PROPERTY(bool, isInsideArea, false, Usage:PROPERTY_USAGE_NO_EDITOR)

// Callbacks
void OnBodyEnteredArea(Node3D* body) { isInsideArea = true; }
void OnBodyLeftArea(Node3D* body) { isInsideArea = false; }

// Routines
void OnProcess(Caller* instance, double delta)
{
	auto input = Input::get_singleton();
	if (input->is_action_just_pressed("Interact") && isInsideArea)
	{
		...
	}
}

// Script Block End
JENOVA_SCRIPT_END
📖 Learn more about Jenova Global Variables
Resources/References
By using Jenova, you can define Objects, Resources and References as properties, providing a highly flexible C++ script for your nodes.
Resource Property
Resource properties are useful for adding customizable resources to your script. For example, you can expose a Material property, enabling direct access to a material resource in your C++ code. Simply use a registered engine type along with a default initializer to achieve this.
Here's an example :
// Class Name
JENOVA_CLASS_NAME("Material Overrider")

// Script Block Begin
JENOVA_SCRIPT_BEGIN

// Properties
JENOVA_PROPERTY(StandardMaterial3D, material, StandardMaterial3D())

// Routines
void OnReady(Caller* instance)
{
	auto mesh = GetSelf<MeshInstance3D>(instance);
	mesh->set_material_override(Ref<StandardMaterial3D>(&material));
}

// Script Block End
JENOVA_SCRIPT_END
Upon compiling the script, an exposed material property will become available. Assigning a StandardMaterial3D to this property enables runtime modification.
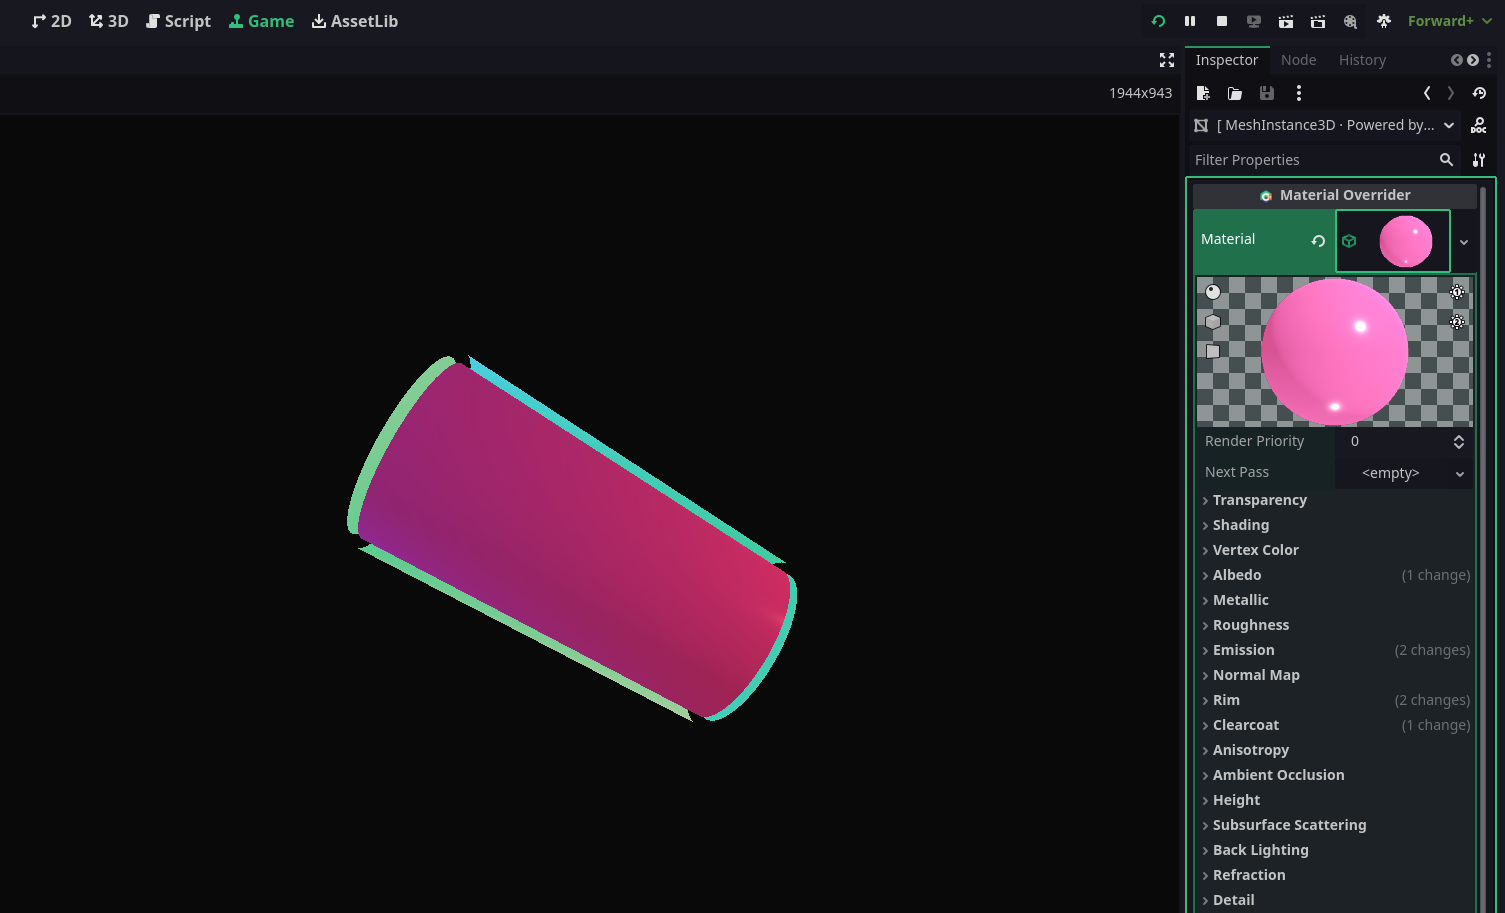
Material property with an assigned material resource.You can speficiy the Resource Type by using Hint and HintString, Here's an example to define PackedScene property :
JENOVA_PROPERTY(PackedScene, bullet, PackedScene(), Hint:PROPERTY_HINT_RESOURCE_TYPE, HintString:"PackedScene")
Reference Property
Reference properties are useful for directly accessing nodes in your scene. To create reference properties, simply expose a NodePath property in your C++ script and this allows you to assign nodes from the SceneTree directly to your script. You can then resolve these nodes by retrieving them through their paths.
Here's an example :
// Class Name
JENOVA_CLASS_NAME("Character Controller")

// Instances
CharacterBody3D* characterBody = nullptr;

// Script Block Begin
JENOVA_SCRIPT_BEGIN

// Properties
JENOVA_PROPERTY(NodePath, playerCharacter, "")

// Routines
void OnAwake(Caller* instance)
{
	// Solve Assigned References
	auto self = GetSelf<Node>(instance);
	characterBody = GetNode<CharacterBody3D>(String(self->get_path()) + "/" + playerCharacter);
}
void OnProcess(Caller* instance, double delta)
{
	// Use Assigned References
	Vector3 cbPos = characterBody->get_position();
	Output("%s Position : %lf %lf %lf", GetCStr(characterBody->get_name()), cbPos.x, cbPos.y, cbPos.z);
}

// Script Block End
JENOVA_SCRIPT_END
By compiling the script above you will see a reference slot appear in Inspector. You can then drag and drop any node into the slot to assign it.
Instance Properties
Jenova allows you to store and manage runtime instances directly using Variant::OBJECT properties. This is useful for holding references to dynamically created nodes or resources that are not exposed to the editor but need to persist across lifecycle callbacks.
This pattern is a hybrid of Internal Properties and Resources/References. It allows you to store reference counted objects and node instances directly in your script. It’s ideal for managing internal runtime objects while keeping your script modular and memory-safe. The node instance will be released automatically by the SceneTree when the parent is freed, and the resource will be cleaned up automatically when its reference count reaches zero.
Here's an example :
// Class Name
JENOVA_CLASS_NAME("Instance Properties")

// Script Block Begin
JENOVA_SCRIPT_BEGIN

// Properties
JENOVA_PROPERTY(Variant, multimeshinstance, Variant::OBJECT, Usage:PROPERTY_USAGE_NO_EDITOR)
JENOVA_PROPERTY(Variant, multimesh, Variant::OBJECT, Usage:PROPERTY_USAGE_NO_EDITOR)

// Routines
void OnAwake(Caller* instance)
{
    // Create Instances
    auto _multimesh = Ref<MultiMesh>(memnew(MultiMesh));
    auto _multimeshinstance = memnew(MultiMeshInstance3D);

    // Add Node Instance to Scene
    auto self = GetSelf<Node3D>(instance);
    self->add_child(_multimeshinstance);

    // Assign Instances to Properties
    multimesh = _multimesh;
    multimeshinstance = _multimeshinstance;
}
void OnDestroy(Caller* instance)
{
    // MultiMeshInstance3D will be Released Automatically by SceneTree
    // MultiMesh will be Released Automatically by Reference Counter
}
void OnReady(Caller* instance)
{
    // Obtain Resource Instances (Mesh, Texture etc.)
    Ref<MultiMesh> _multimesh = multimesh;

	// Obtain Reference Instances (Node3D, Node2D etc.)
    auto* _multimeshinstance = Object::cast_to<MultiMeshInstance3D>(multimeshinstance);

	// Access Instances
	...
}

// Script Block End
JENOVA_SCRIPT_END
Tip : Properties will be updated at Debug Mode when changed from editor!
Since the Jenova Property Macro doesn't change the preprocessed source code and is only used by the Jenova Source Code Parser.
- Do not break Jenova Property Macro into multiple lines; It must be in one line.
- Do not mix flags in
Usageparameter as it's not supported yet.